
So this update is a special update focusing on the powder coating of the chassis and chassis components. I made the decision to powder coat all the bolt on parts that fit to the chassis, parts like light mounts / suspension arms / radiator surround etc and found a local company (very local about 4 miles away) with loads of experience in doing car components and had just recently opened a new unit in my area that company was Northcoat.
After a few discussions I delivered 26 parts to Northcoat for stripping, undercoating and powder coating in my chosen colour (RAL 3028 Pure Red)

here's the stack of most of the parts going to powder coating, this is mostly suspension components and hub uprights, I also included all the lighting brackets and then a few days later (i think it was only 3!!)

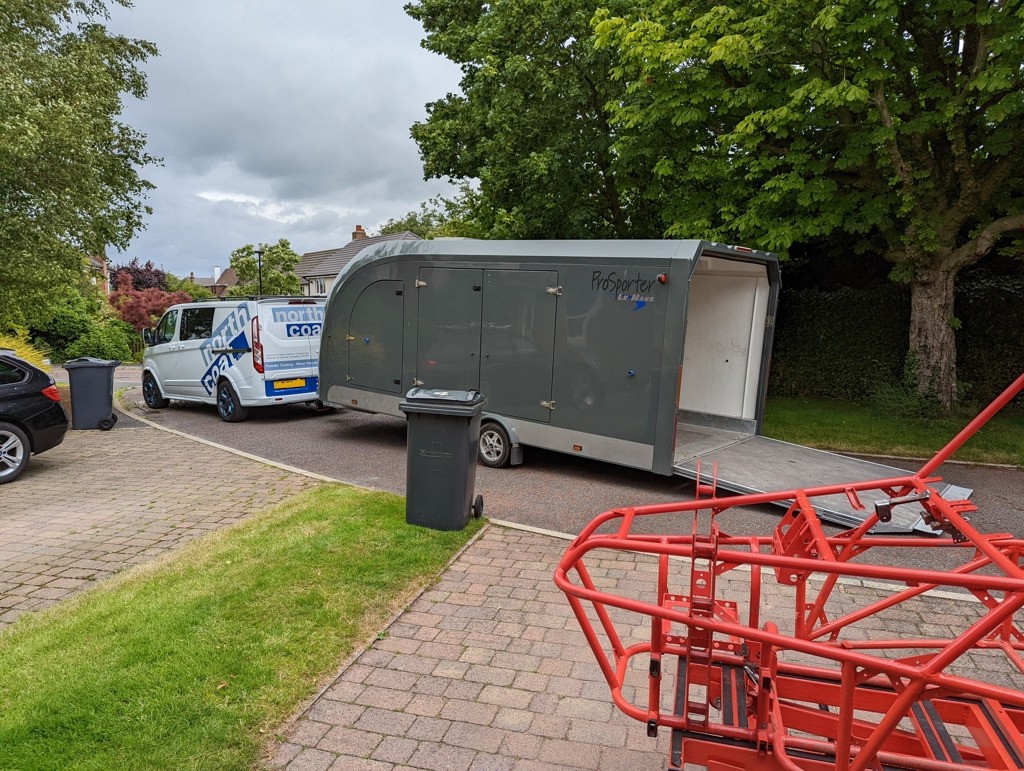
I brought them all back in stunning red powdercoat, the team at Northcoat had done a fantastic job and really gone the extra mile to provide a first class finish, so I decided that based on the quality of the work and the fact I had no desire to paint the chassis again really that I would get Northcoat to powdercoat the whole chassis, decision made and with the chassis stripped of every component, bolts put in threaded inserts on the chassis to keep the threads clean and free of coating Shaun from Northcoat picked up the frame

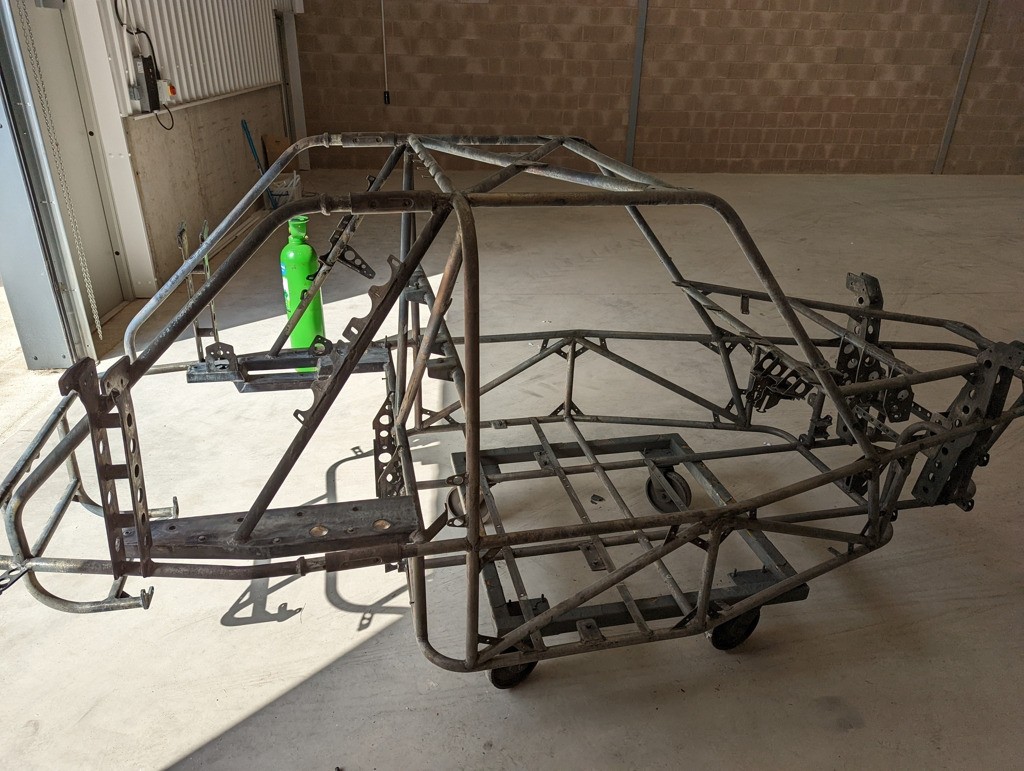
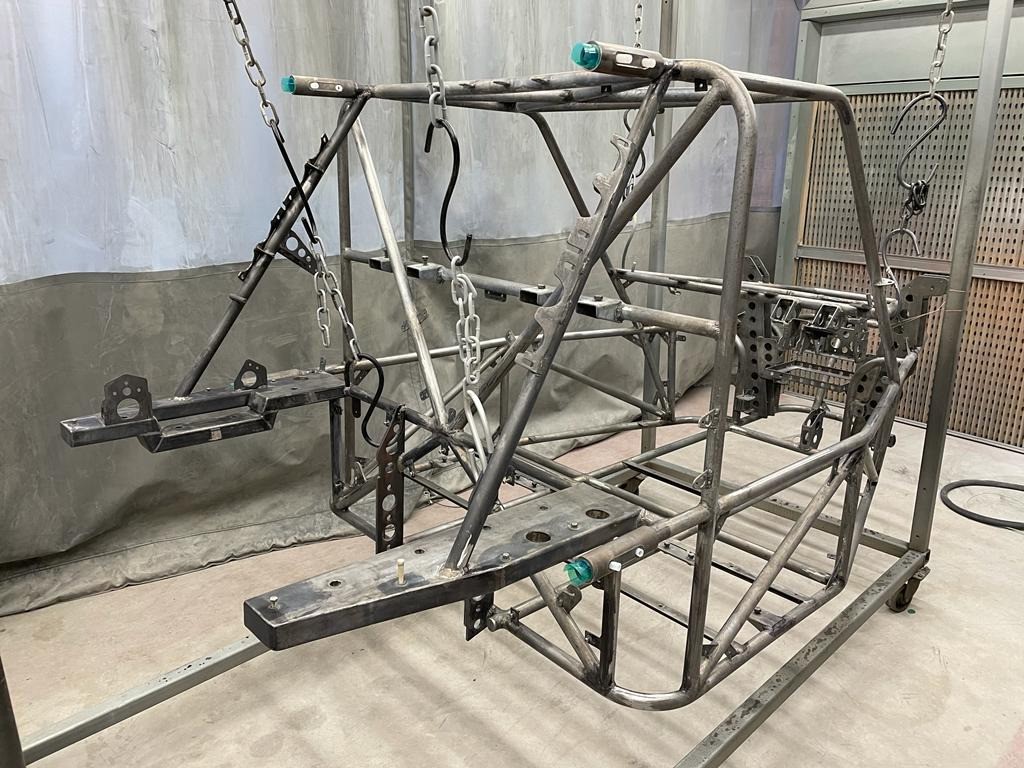
The Chassis was taken directly to Northcoats larger unit for heat stripping rather than acid dipping - this also meant that every sealed tube in the chassis had to have a 3mm hole drilled in it to release and pressure during the process (otherwise there is a risk that the tubes could build up pressure and pop during the stripping process) - Thankfully the stripping process went without a hitch and a clean chassis came out of the oven and was quickly phosphate washed to resist rusting the bare metal and brought back to Northcoats main site near me, It was then my job to weld up all the 3mm holes and flapdisk them down smooth!!
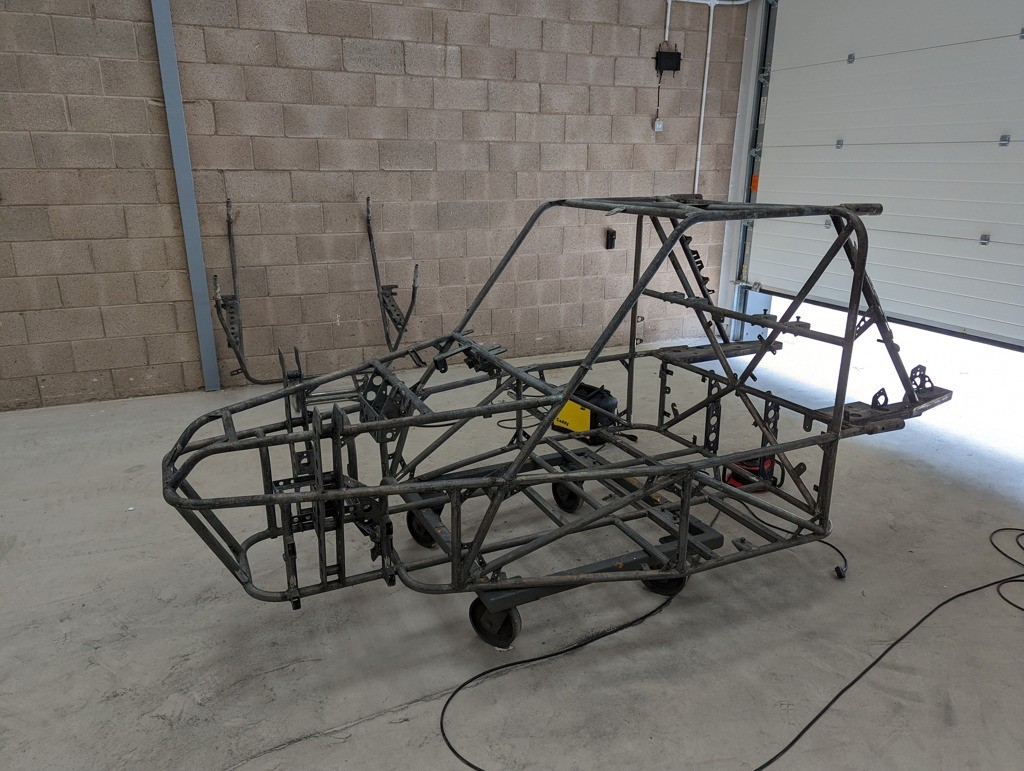
Holes welded up and smoothed off, the next stage was for the Northcoat team to go over the entire frame with a light abrasive pads to make sure everything is smooth and no welding spatter or other rubbish will spoil the final finish, then mount the frame onto the frames for the next stage
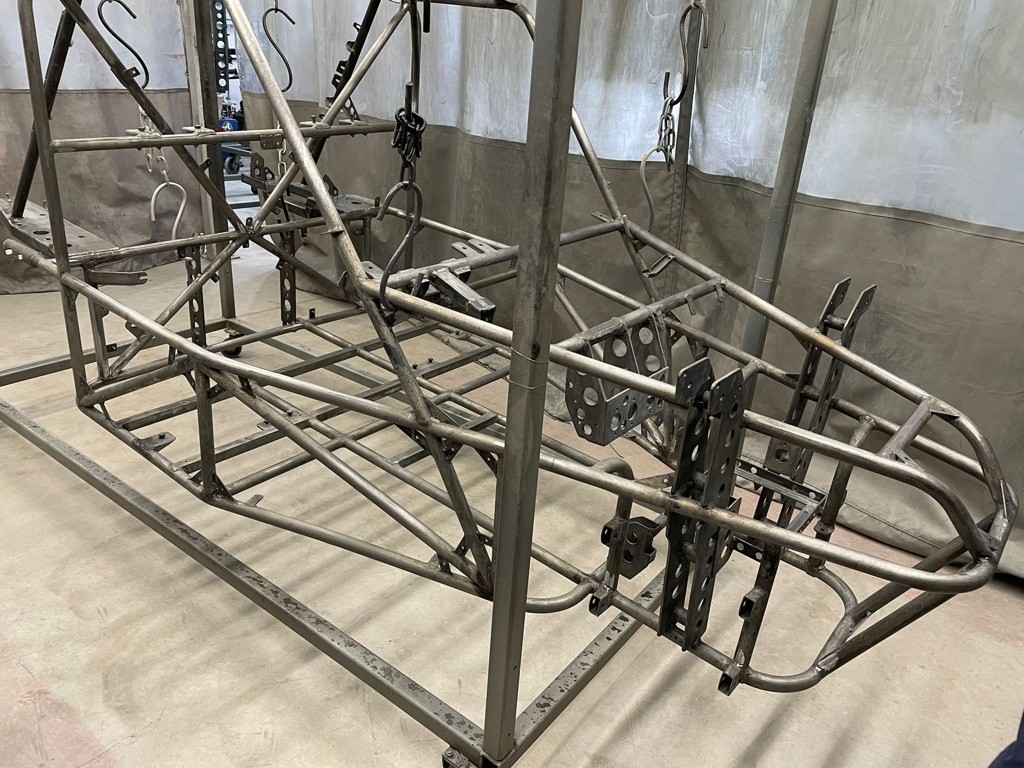
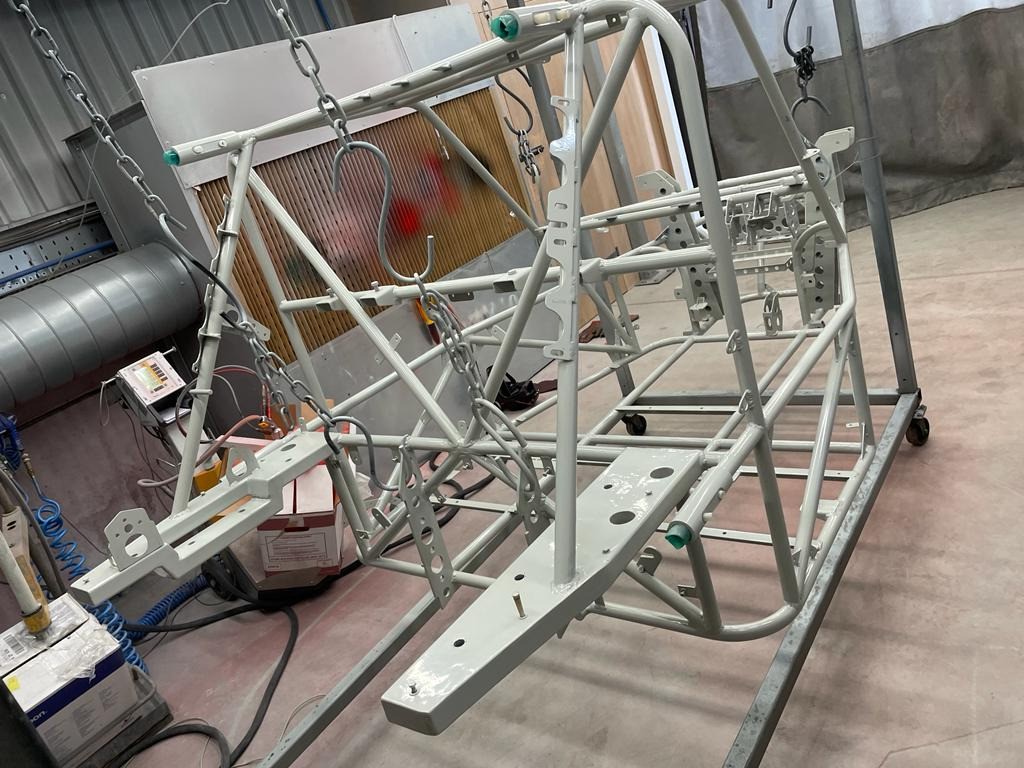
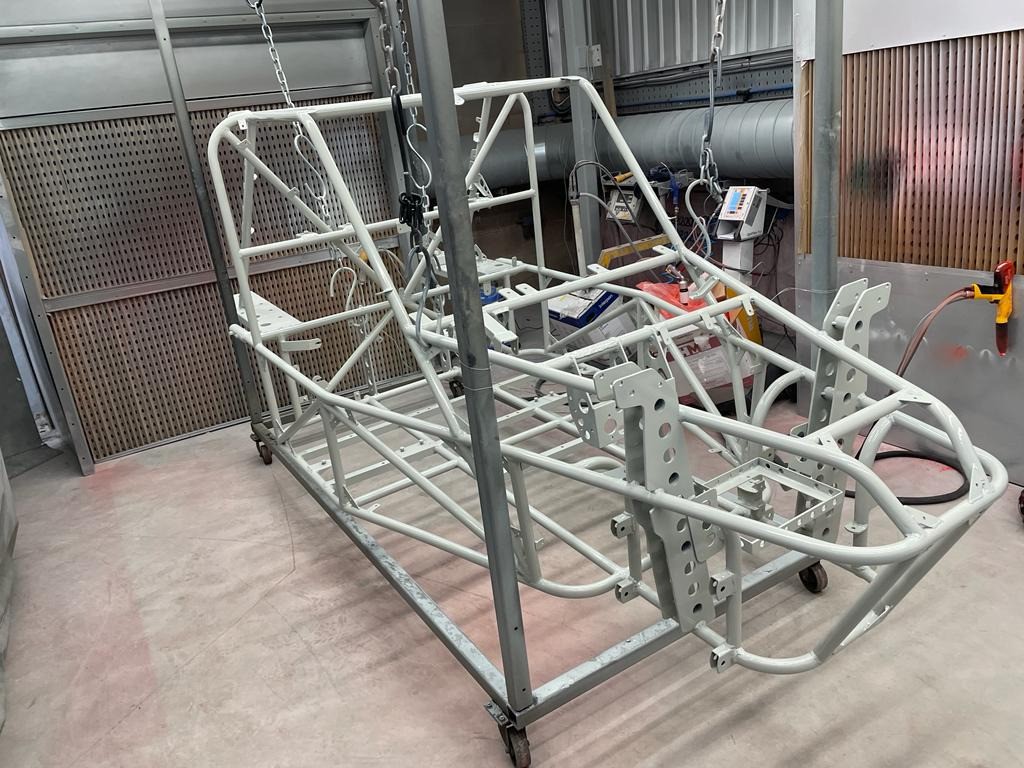
Once cleaned hung on the frame and anything that needed masking was masked and bolt holes filled with a plug or bolt - the frame was sprayed with an epoxy undercoat and part baked in the oven (at a lot higher than gas mark 6!!)
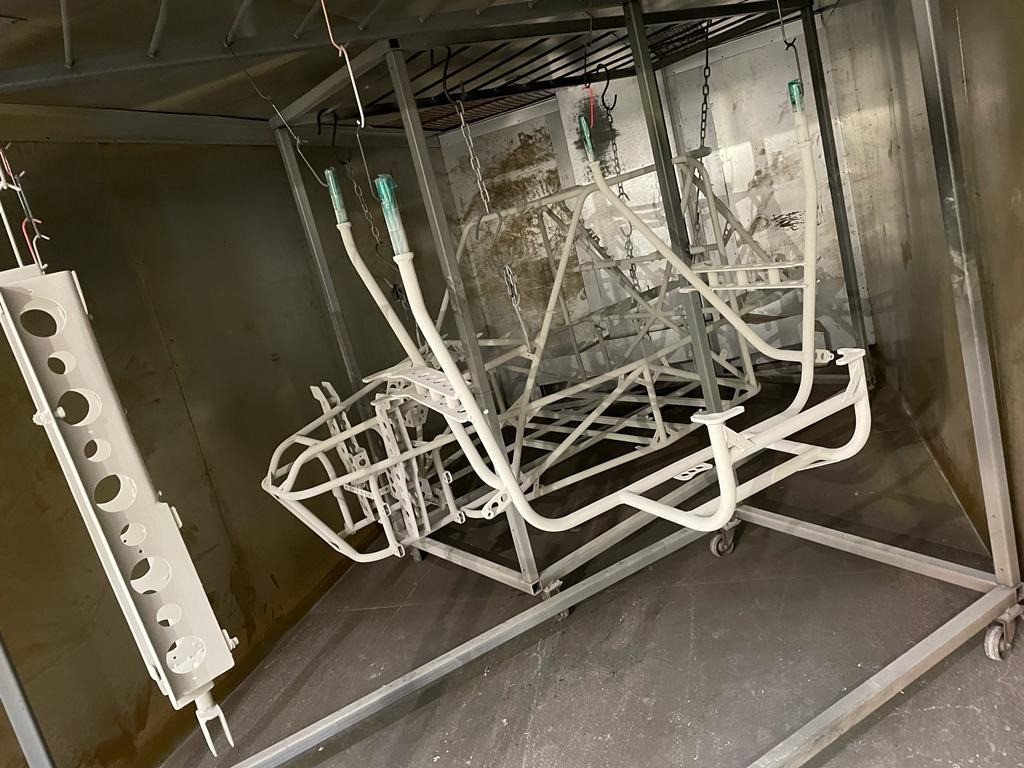
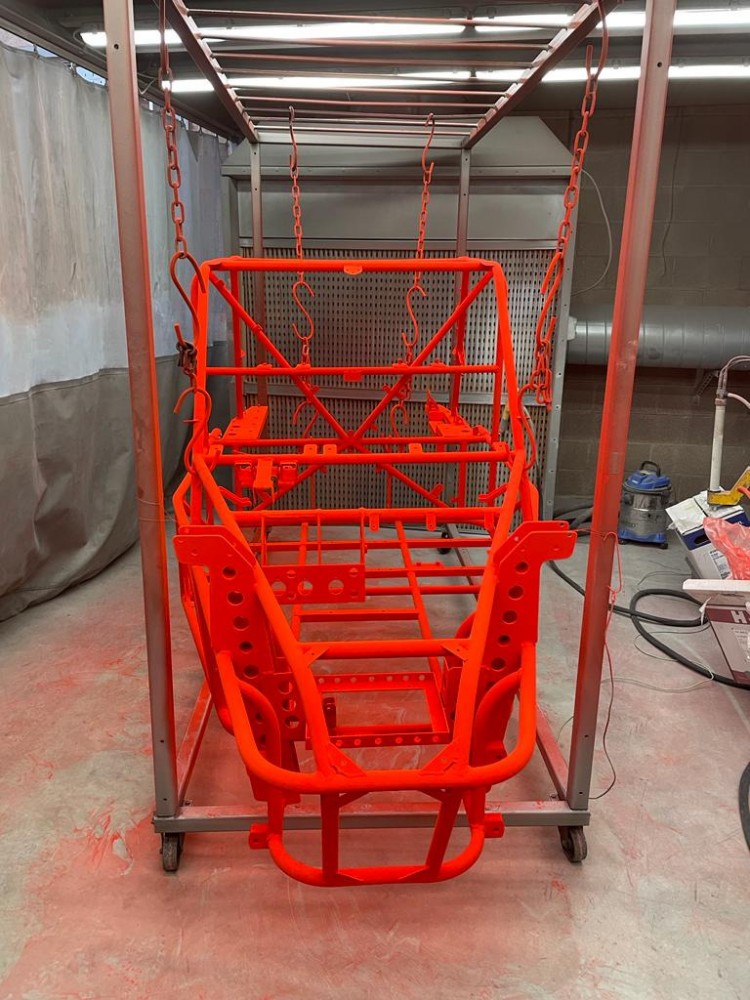
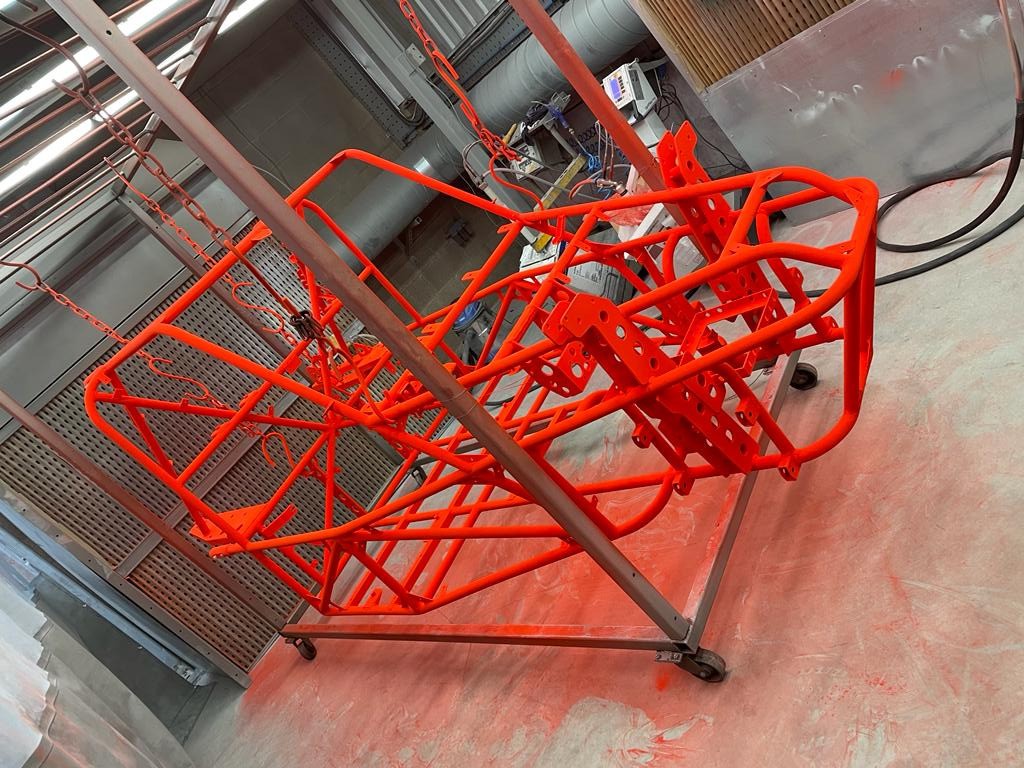
Once the epoxy undercoat was part baked (part baked to ensure the final top coat bonded well ) it was on to the powder coating top coat - once again RAL 3028 Pure Red, powder looks very bright when applied prior to baking
note the red dust everywhere!!!!
And finally the final bake in the oven to melt the powder and do the final bond with the undercoat, and the final finish is awesome, really stunning and very very red!!!!!!
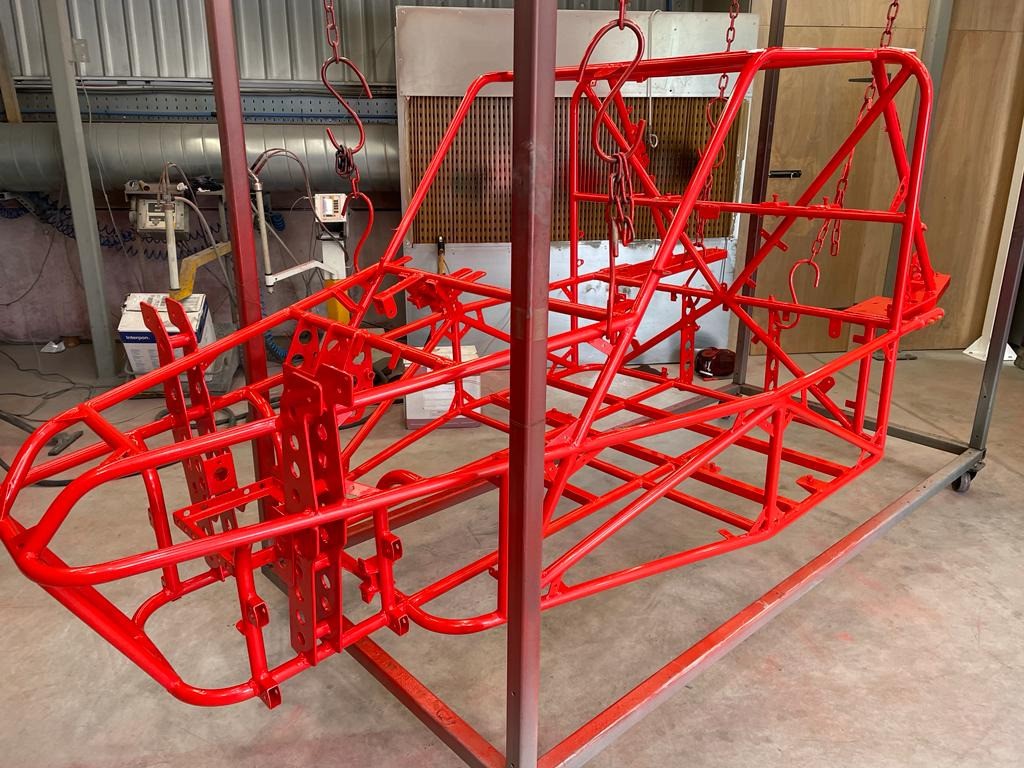
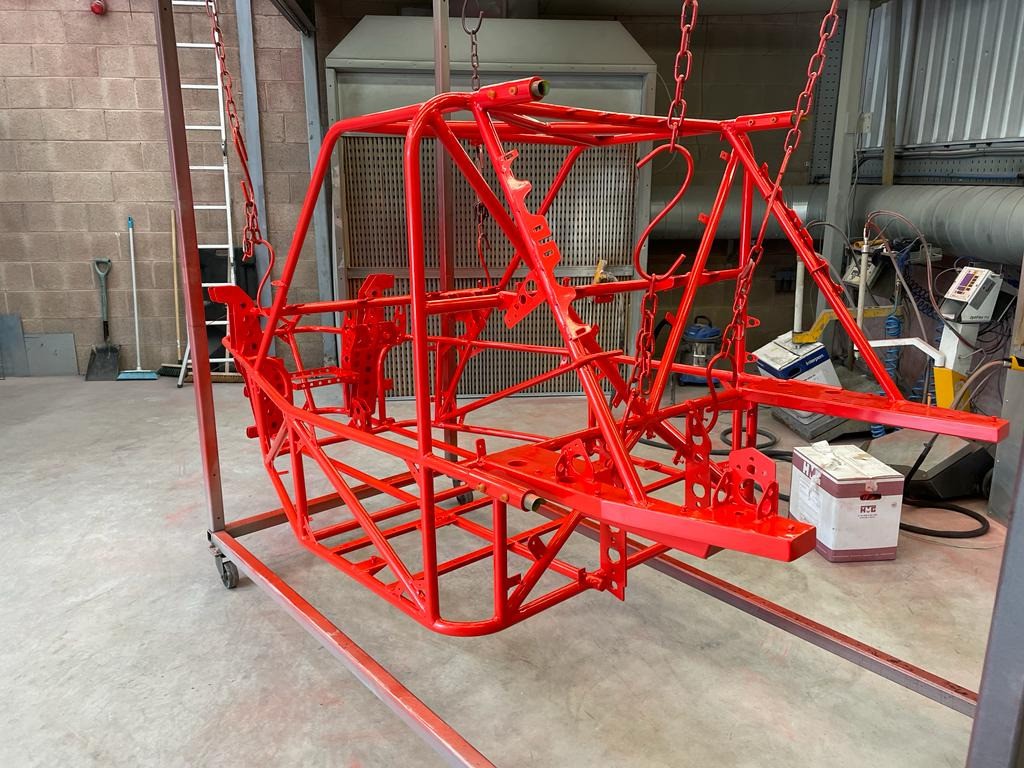

So now the chassis is back in the garage awaiting the re-build! - currently im working on the engine cleaning/stripping down the engine to ensure its ok and servicing it ready for the re-fit
more pics to follow as I re-build :)